
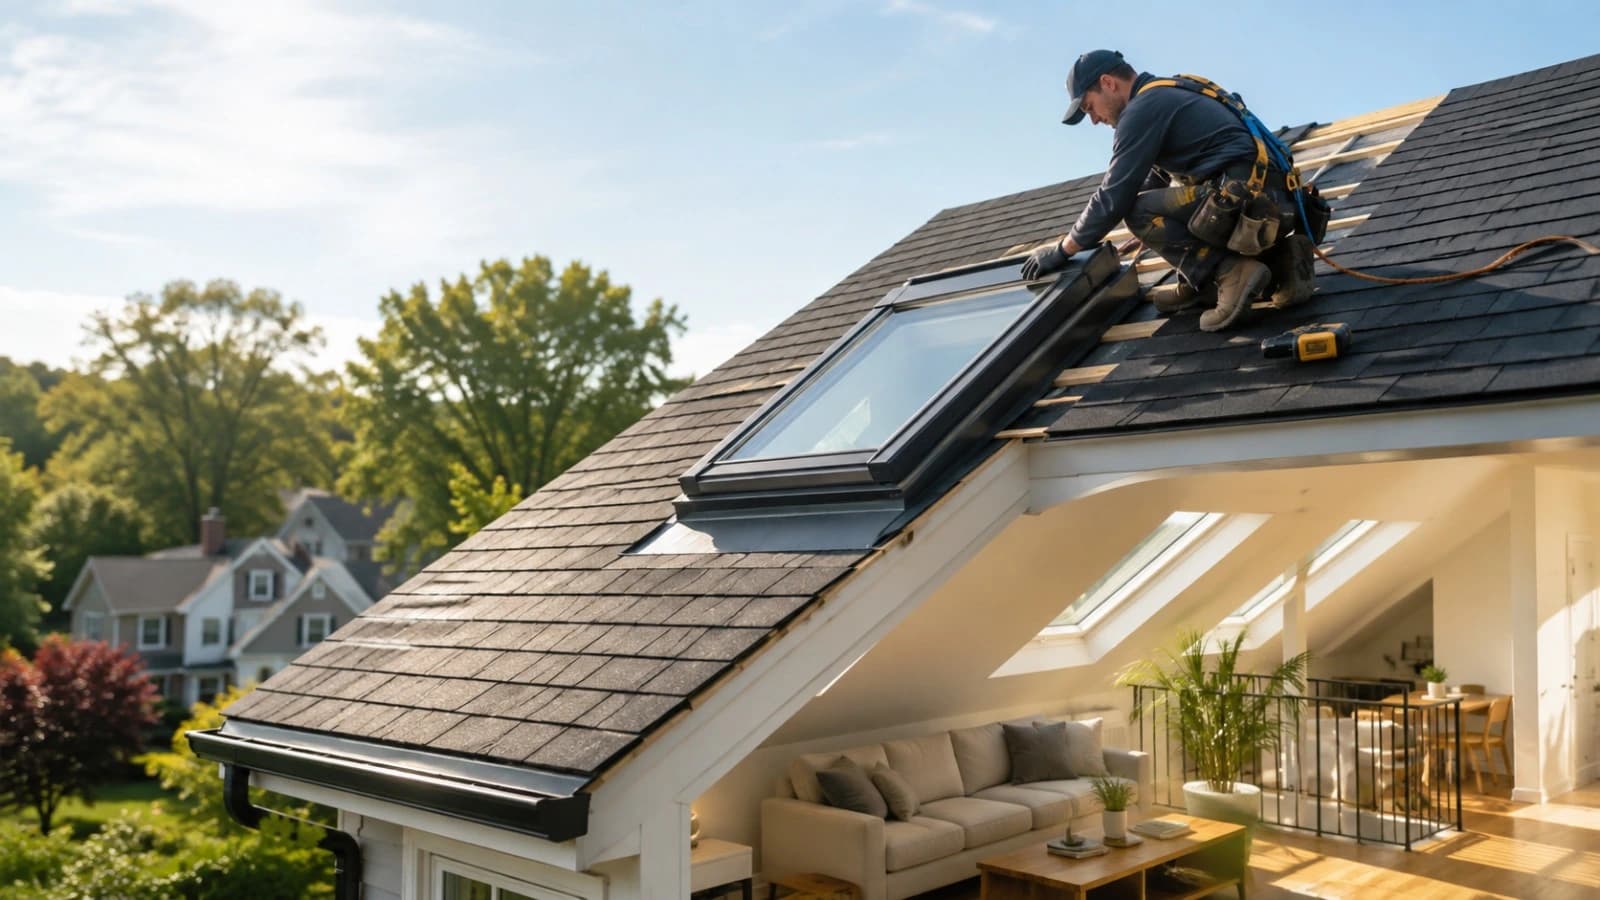
Why Homeowners Choose Skylight Installation in New Jersey
Natural light is one of the biggest reasons homeowners decide to install skylights. Many areas of a home, including bathrooms, hallways, kitchens, staircases, and converted attic spaces, may not have enough wall windows.
A properly placed skylight can introduce sunlight directly from above.
Some of the main benefits of installing a skylight include:
- Increased natural light
- Improved indoor appearance
- Better ventilation with operable skylights
- A more open and spacious feeling
- Potential reduction in daytime lighting needs
- Enhanced property appeal
- Improved connection to the outdoors
For New Jersey homeowners, skylights can be particularly useful during the shorter daylight periods of fall and winter. Additional natural light can make interior spaces feel brighter and more comfortable.
However, these benefits depend heavily on proper skylight installation.